How to add Texture to Ceiling
1. Login to your Foyr Neo account on https://neo.foyr.com/login or get an account simply by signing up.
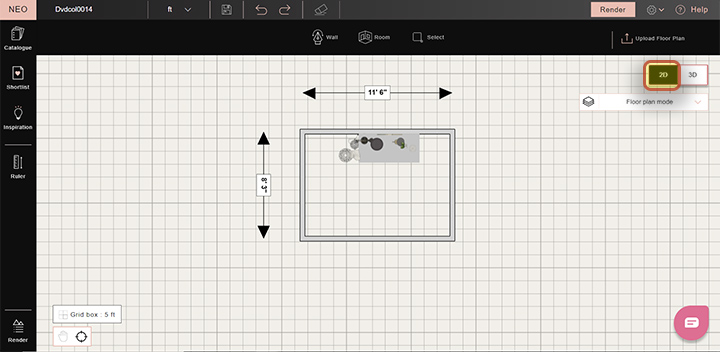
2. Use the ‘Wall’
tool or ‘Room’ tool to draw walls on
the canvas.
Note: The
nib-shaped Wall tool on the top row
of the page helps you draw walls (as circled below).
Room
tool helps you draw square or rectangular walls on a floor plan.
To know more
about how to upload floor plan CLICK HERE.
Neo is the best living room design tool and learn more on how to add textures to ceilings.

Neo is the best living room design tool and learn more on how to add textures to ceilings.
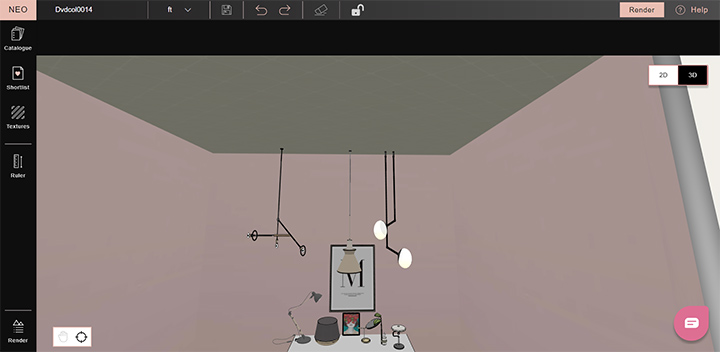
3. Switch from 2D to 3D mode to visualize the ceiling.
4. To view available textures click on Textures→ Wallpapers/ Wall finishes/ Wall paints/ Wood/ etc. to select a texture of your choice for your ceiling. You can either Shortlist the texture for your project by clicking on the heart-shaped icon OR directly drag and drop it to the ceiling.
5. If you choose the shortlisting method for applying texture to your ceiling, Click on Shortlist→Textures, to find your shortlisted texture here.
6. Drag and drop the texture to your ceiling.
7. Press shift + left click to edit your ceiling texture. Once your ceiling texture is selected, the 'Edit Properties' option will appear on the context bar.
8. Once you click on edit properties, a context box appears where you can change the appearance of your ceiling texture.
9. To edit your texture tiling, you can click on the Edit Properties button and increase or decrease the tiling frequency. Press the Reset button to restore your default ceiling.
10. Your ceiling texture is added!

We hope this step-by-step guide on ‘How to add texture to ceiling’ helped you understand this useful
feature in Foyr | Neo.
For any queries or questions feel free to contact us via accessing the HELP section within Neo to chat with us or write at connect@foyr.com.